Description
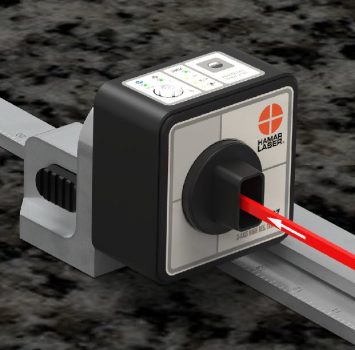
Hamar Laser’s T-1297 3-Axis Wireless Target is a high-resolution, multi-purpose target designed to work with our L-703S Spindle and Straightness Laser to measure straightness/flatness of surfaces, like surface plates, and machine tool axes and guideways. It also supports all our L-730-740 scanning lasers when used in Scanning Mode to measure axes and surfaces using the L-730/740 laser planes.
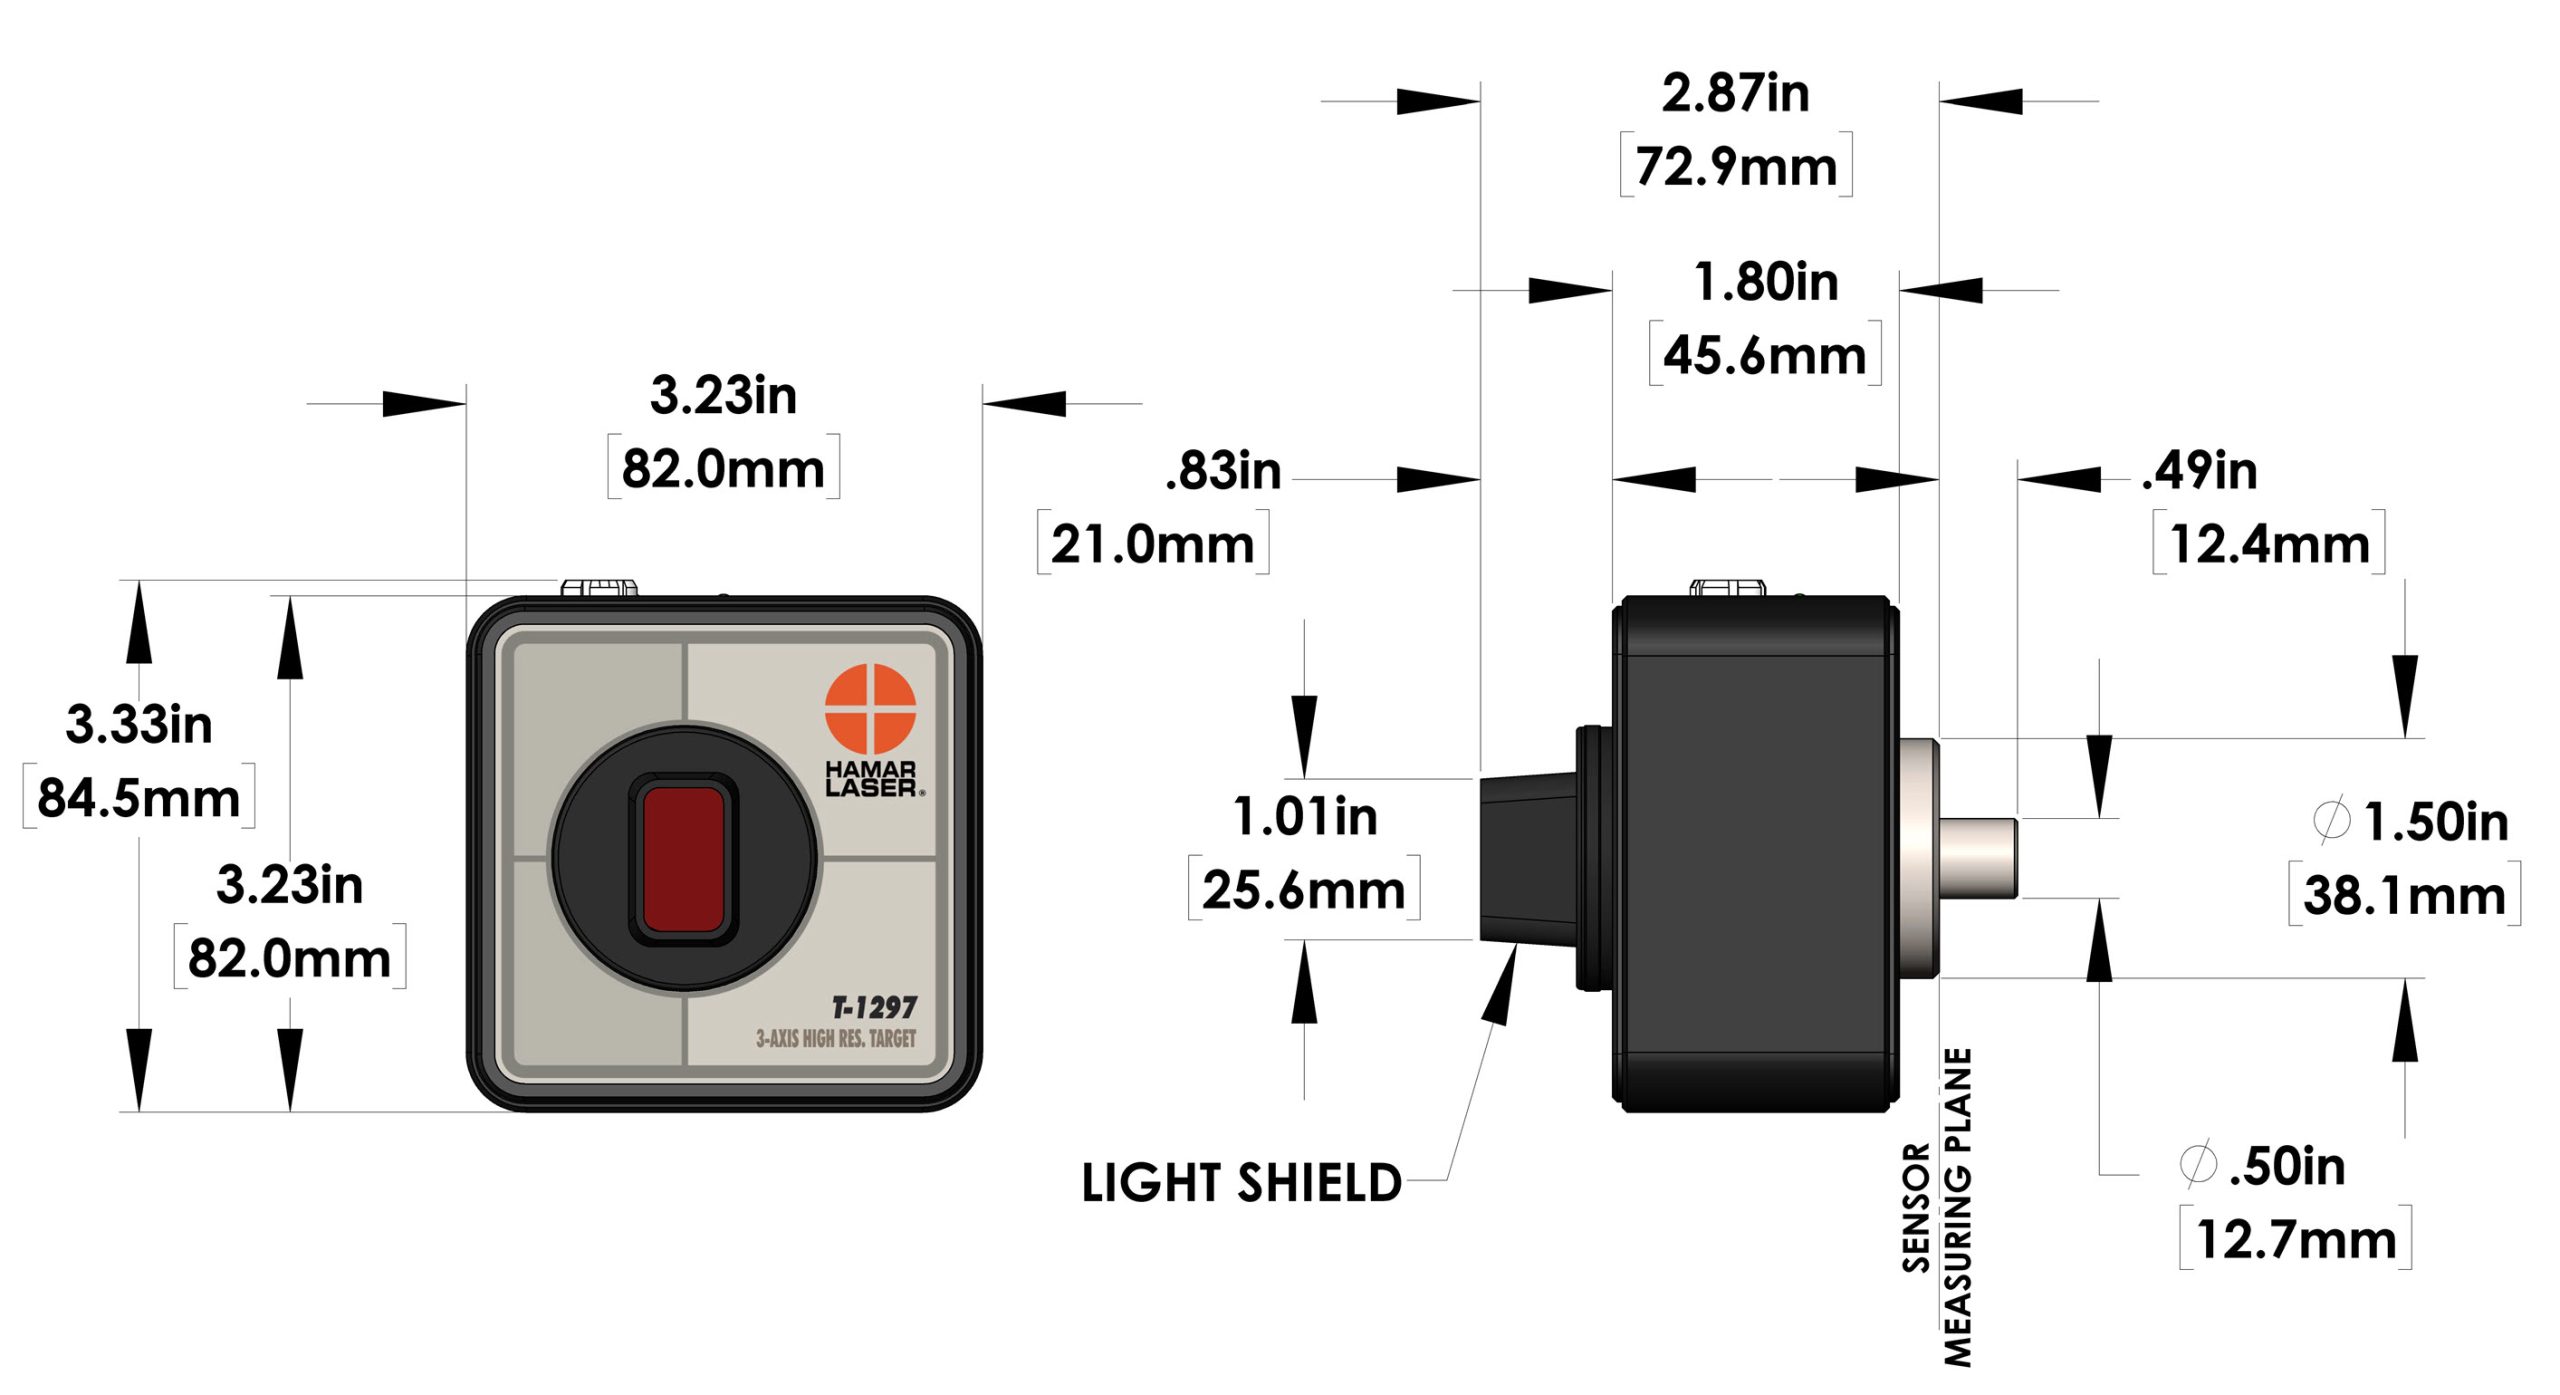
The T-1297 features a super-linear, high-accuracy 10×10 mm PSD with a resolution of 10 µin. (0.25 µm) for center (H&V). It has a 0.5 in. (12.7 mm) mounting stud to insert into a spindle collet or chuck or our A-1297. The PSD is centered to the mounting stud to .0003 in. (0.008 mm) or better.
To measure angle, there are two angular lens options that offer up to .00002 in/ft (0.002 mm/m) angular resolution for measuring pitch and yaw axis errors.
The T-1297 communicates with a PC or PDA via Bluetooth with 100 ft. (30 m) of measuring range or a USB cable that also charges the target.
We also offer mounting accessories to use the T-1297 in many different applications. The accessories include:
- L-702RA Right-Angle Spindle Mount
- T-242 Straightness Measuring Base
- T-243 Flatness Measuring Base
- T-1295-AO-6 6 in. (152.4 mm) Angular Lens
Applications
- Flatness/straightness of surfaces.
- Spindle alignments (center and angular) on ID/OD grinders, lathes, rotary dial machines and turning centers.
- Straightness/flatness of linear axes or guideways on boring mills, gantries, lathes, machining centers, multiturn machines, VTLs.
- Surface plate calibration.
Features
- High resolution: .00001 in. (0.00025 mm) for center (H&V).
- Two-axis measuring sensor with super-linear, 10×10 mm PSD.
- To measure Pitch and Yaw, there are two angular lens measuring options: 3 in. (75 mm) and 6 in. (150 mm) focal length, providing up to .00002 in/ft. (0.002 mm/m) of angular measuring resolution.
- 0.5 in. (12.7 mm) mounting stud for inserting into spindle collets or chucks.
- The PSD sensor is centered to the mounting stud to .0003 in. (0.008 mm) or better. The measuring plane of the sensor is optically projected to the measurement stud for improved accuracy. The remaining centering error and other mounting errors are removed by NORMIN procedure in MultiTurn10, Lathe10 or other HLI software.
- Offers 3 measurement modes:
- Center Mode – 2-axis center measurement for use with the L-702SP’s through-beam.
- Angular Mode (when optional lenses are purchased) – 2-axis angular measurement.
- Flatness (Scanning) Mode – single-axis (5th axis) flatness measurement for use with all of Hamar’s L-702SP and L-730/L-740 Scanning Lasers.
- Bluetooth Class 1 radio for up to 100 feet (30 m) wireless communication.
- Accelerometer rotation axis (6th axis) helps to orient the PSD sensor axes to the alignment axes of the spindle in spindle alignment applications.
- USB charging cable also serves as a wire backup in case of Bluetooth connectivity problems.
- Ambient background light correction for more accurate measurements.
Specifications
Drawings

- Call Us: +1-203-730-4600
- Email: sales@hamarlaser.com
- Website: www.hamarlaser.com


